How to Downgrade from ios 18 to 17 Without Losing Data
Hi everyone, karan here from Ganbupx! Have you upgraded your iPhone to iOS 18 only to find it buggy or simply not to your liking? If you’re yearning for the stability of iOS 17, you’re in the right place. I’ll walk you through the process of downgrading iOS 18 to iOS 17 without losing your data. Let’s get started!
Why Downgrade ?
Maybe you’ve tried out iOS 18 for the new dark mode icons or different apps but are facing bugs or issues. Alternatively, you might prefer the stable public release of iOS 17. Whatever your reason, downgrading is possible and manageable!
What You’ll Need to downgrade from ios 18 to 17
Before we begin, it’s essential to gather the necessary tools and make some preparations:
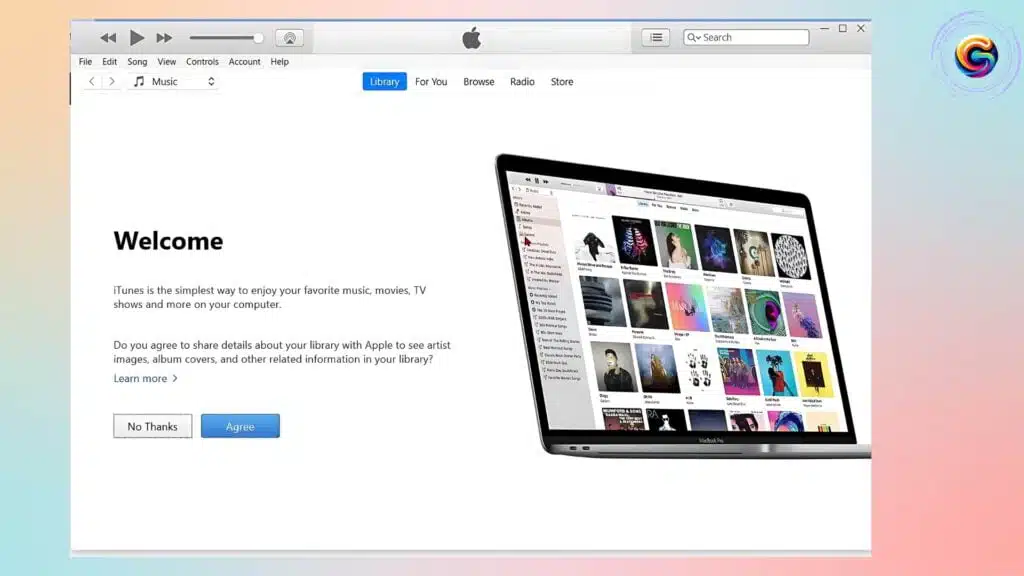
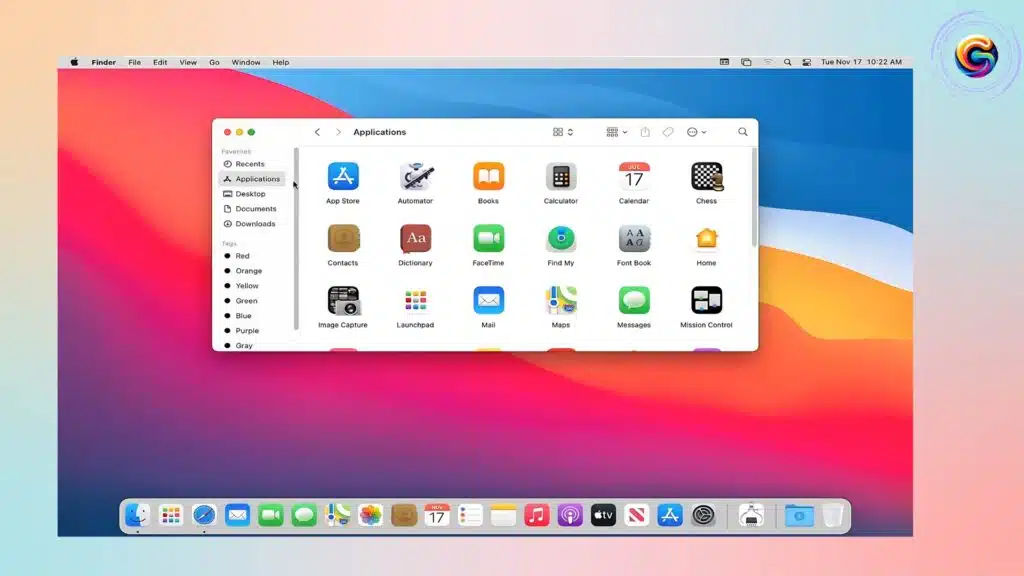
- A computer (Windows or Mac)
- iTunes or Finder
- An iCloud backup or a local backup on your computer
Quick Caution
Downgrading will typically wipe your device clean. Ensure you have a backup from iOS 17. If you haven’t, be sure all your data is synced with iCloud.
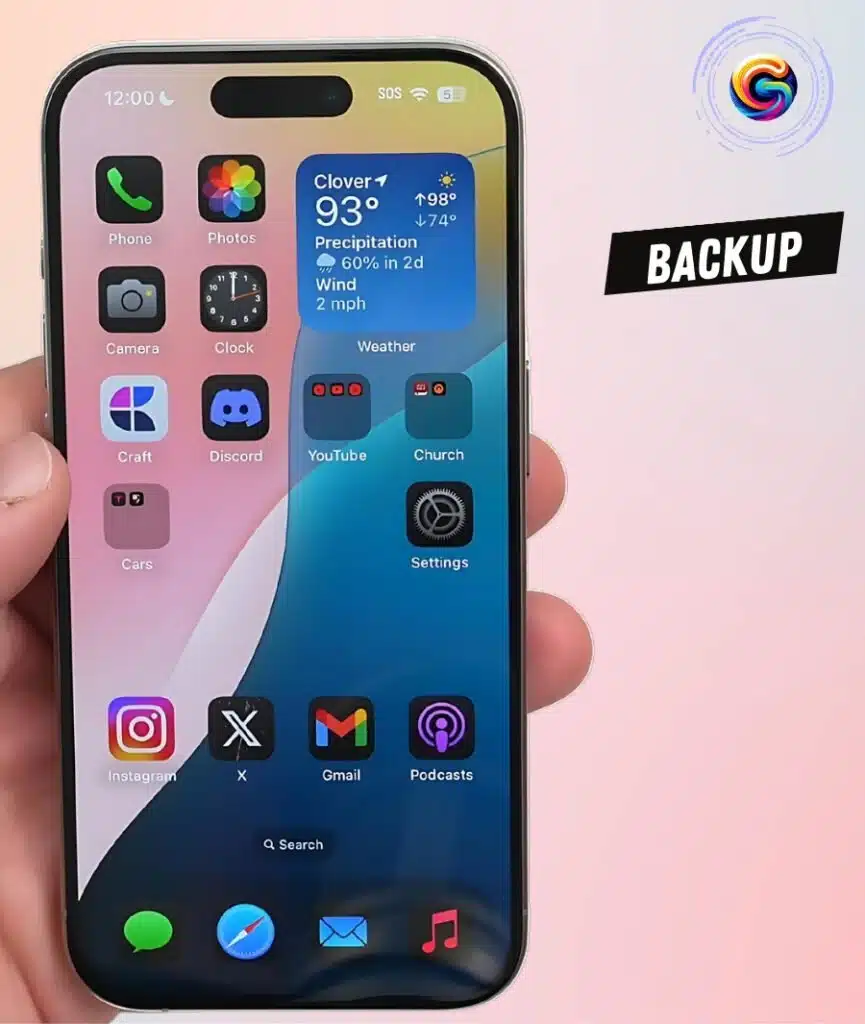
Creating a Backup
- iCloud Backup:
- Go to Settings > Tap your name at the top.
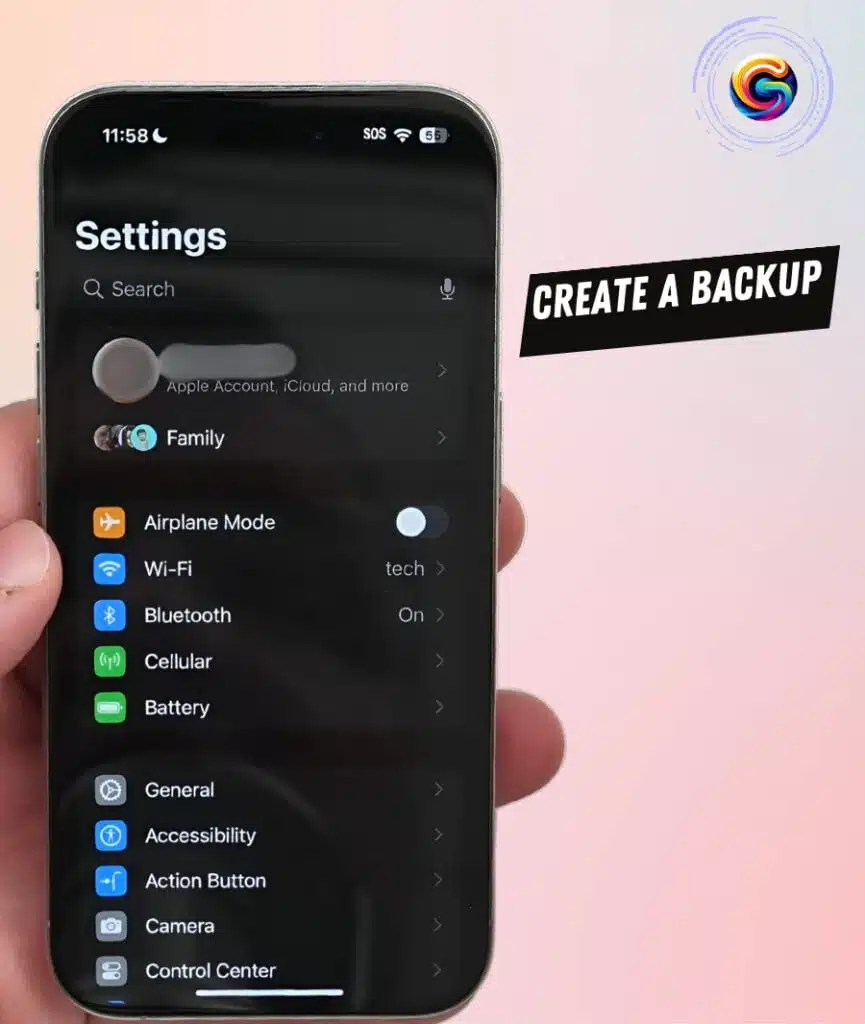
- Navigate to iCloud and ensure everything you need is synced.
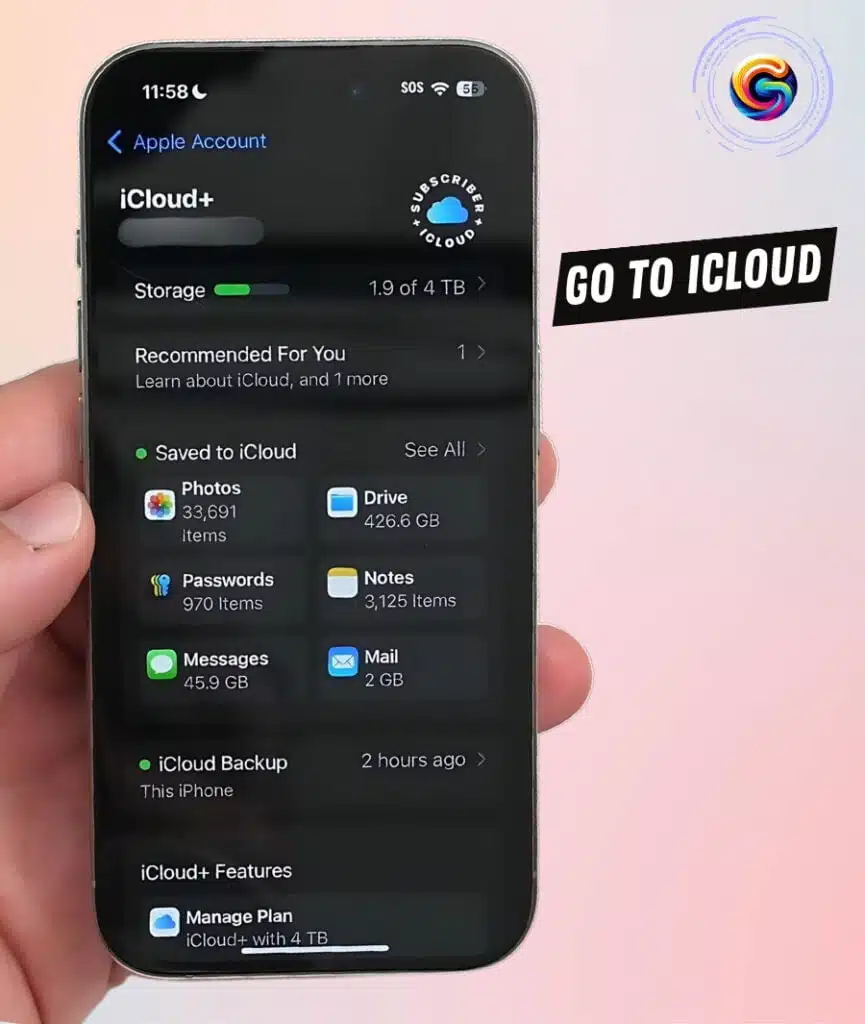
- Manually backup by going to iCloud > iCloud Backup > Back Up Now.
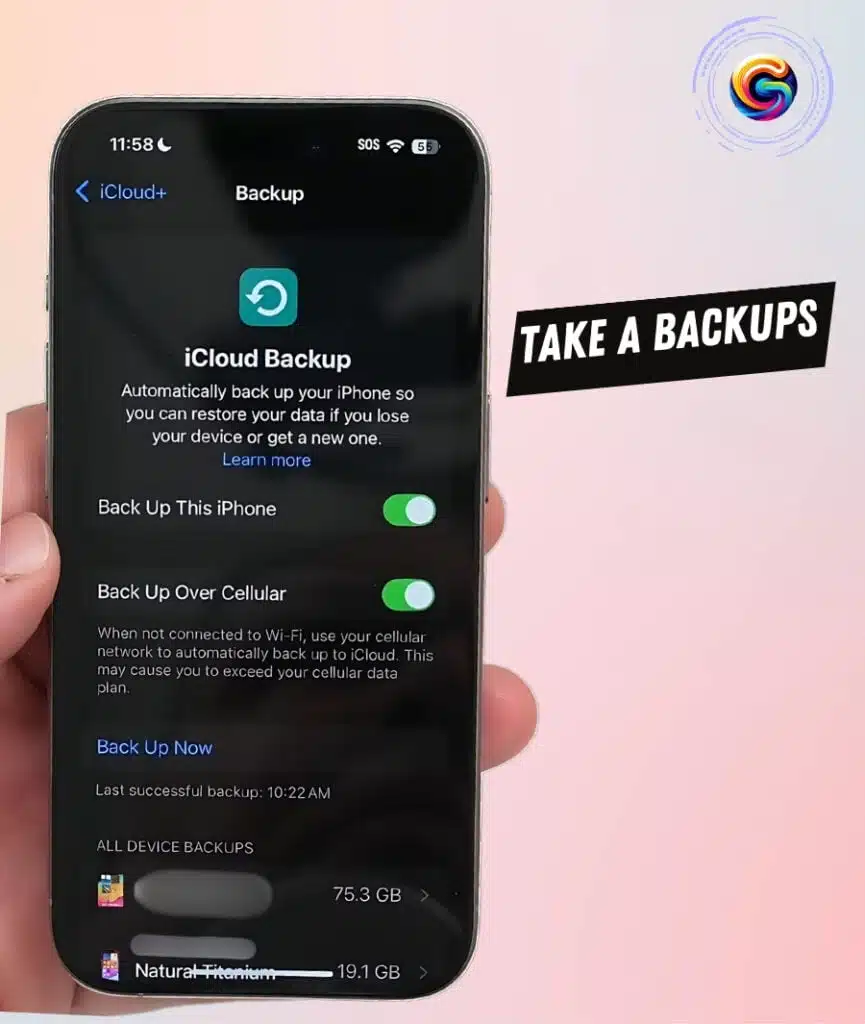
- Local Backup:
On Windows, use iTunes for backup.
- On a Mac, use the Finder.
Important Note
Ensure you have usernames and passwords handy for apps like Instagram, Twitter, and Google, as you might need to log back in after downgrading.
How to Downgrade from ios 18 to 17 Process
Step 1: Prepare for Recovery Mode
- Turn off your iPhone:
- Go to the Control Center.
- Press and hold the button in the upper right corner and slide to power off.
- Enter Recovery Mode:
- Plug the phone into your Mac or Windows computer using a compatible cable.
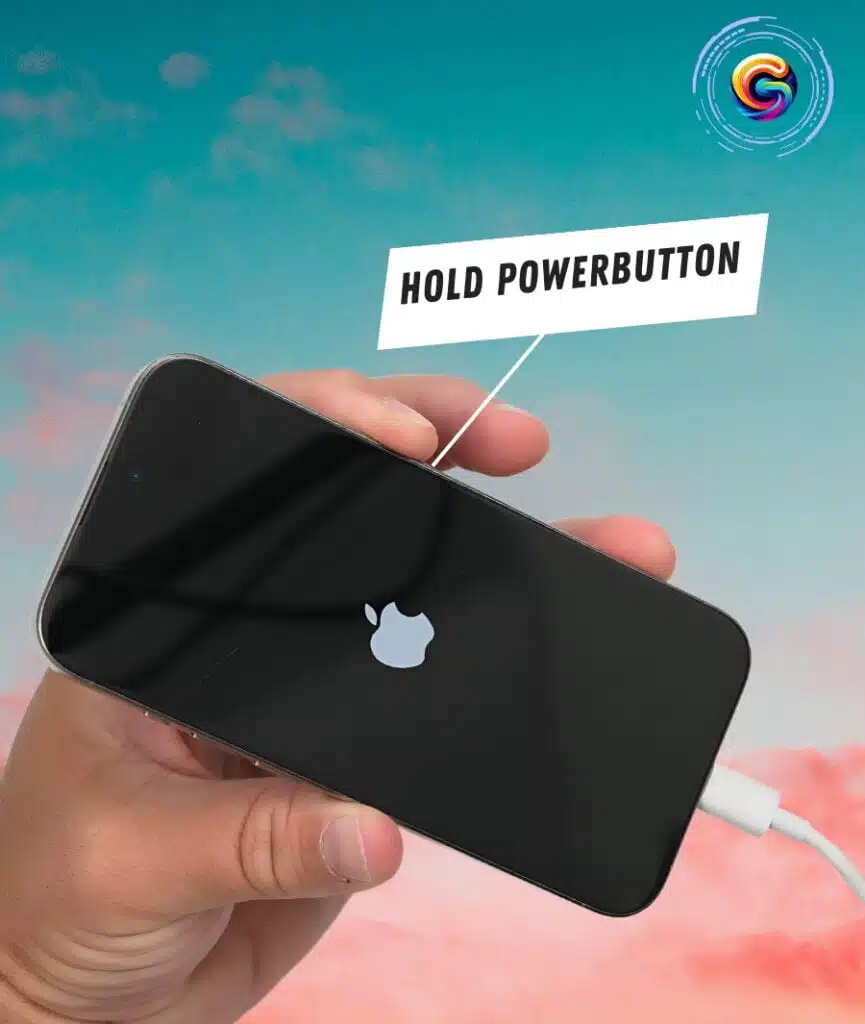
- While holding the power button, plug in the cable.
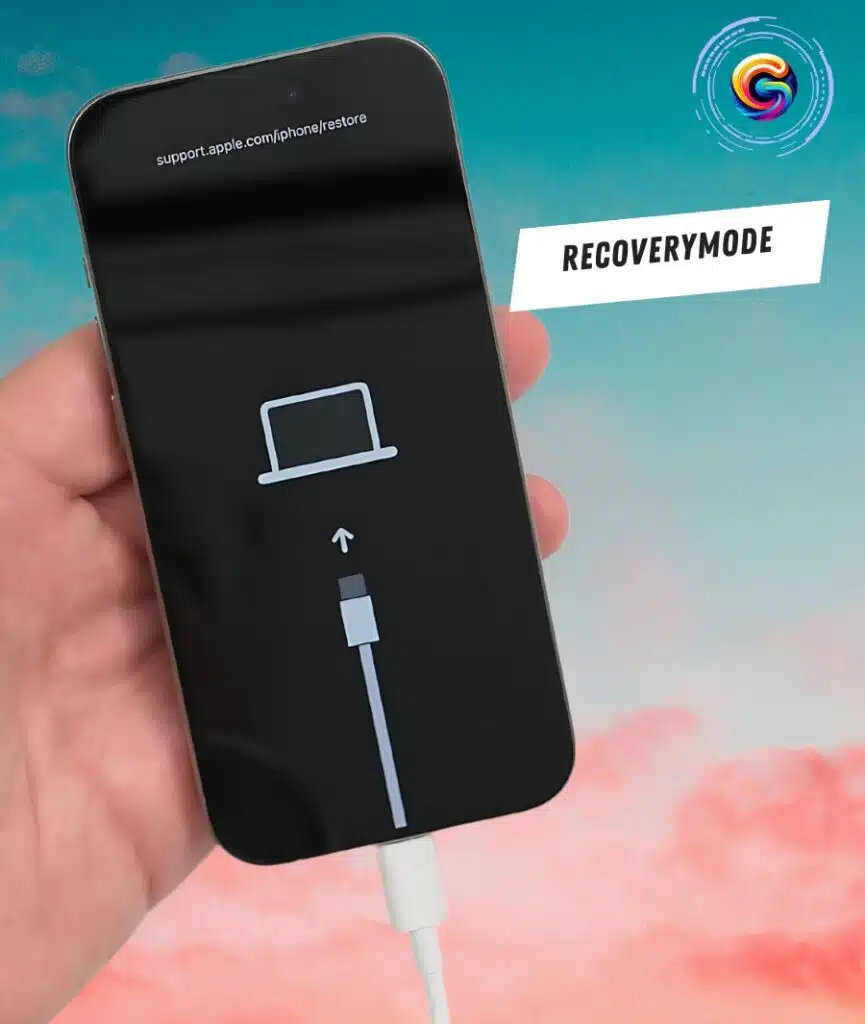
- Keep holding the power button until it indicates recovery mode with the message “support.apple.com/iphone/restore.”
Step 2: Start the Downgrade
- Restore via Computer:
- On your Mac, open the Finder & on Windows, open iTunes.
- Your phone should be detected in recovery mode.
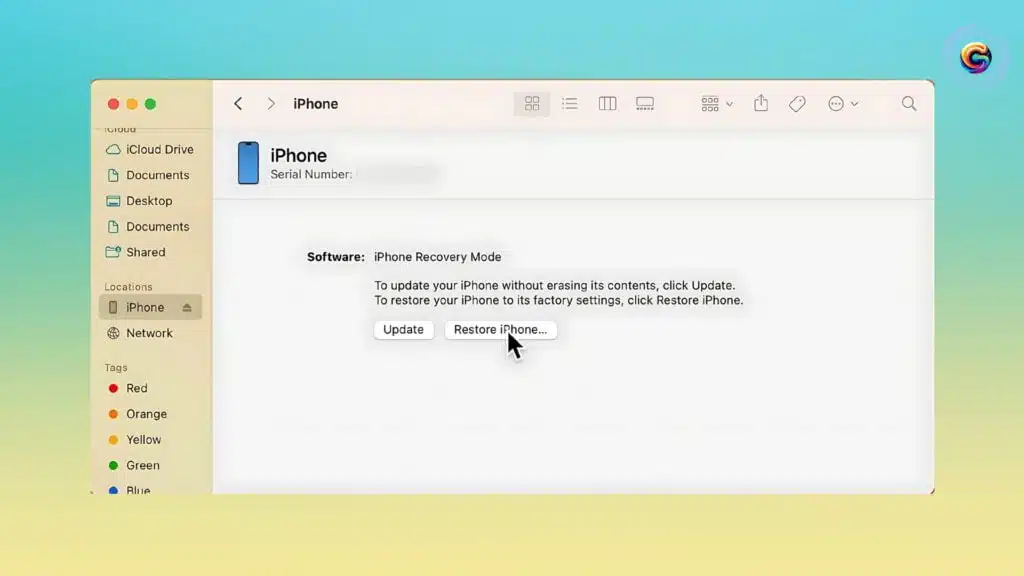
- Click on Restore iPhone.
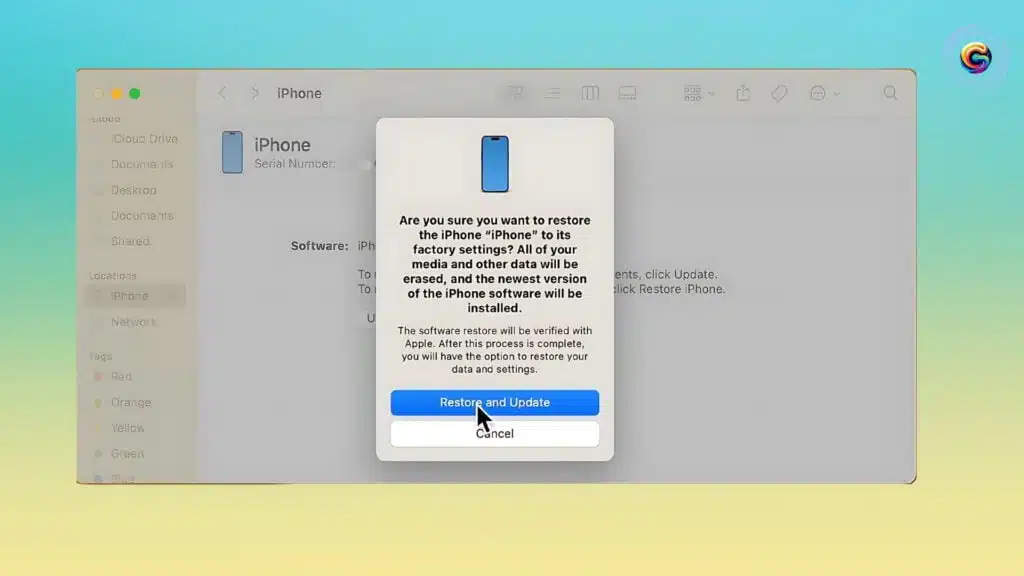
- Confirm by clicking Restore and Update.

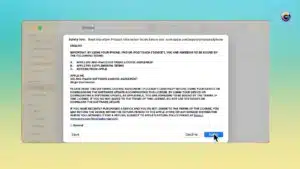
- Downloading Software:
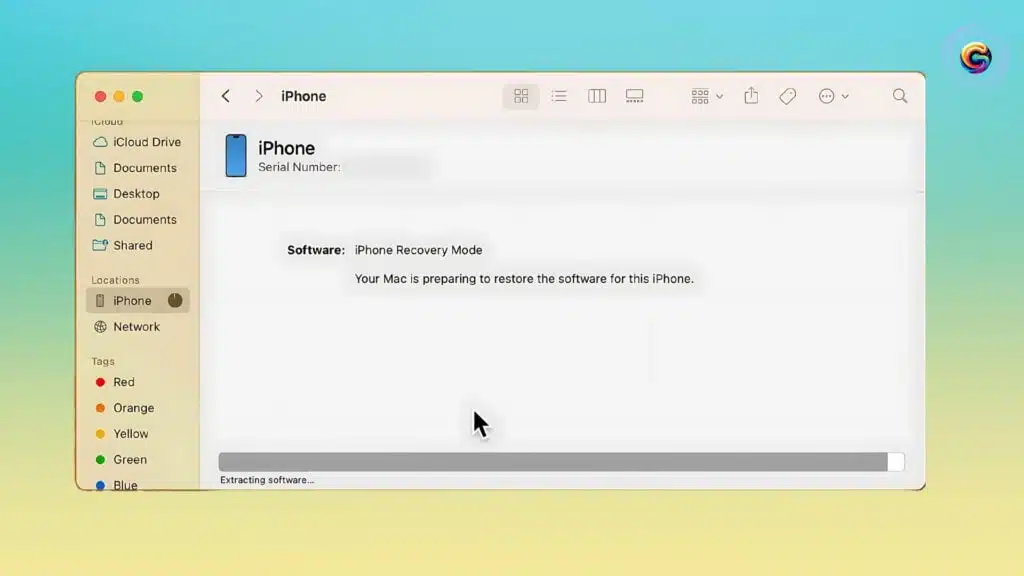
- The computer will download iOS 17 and start the restore process.
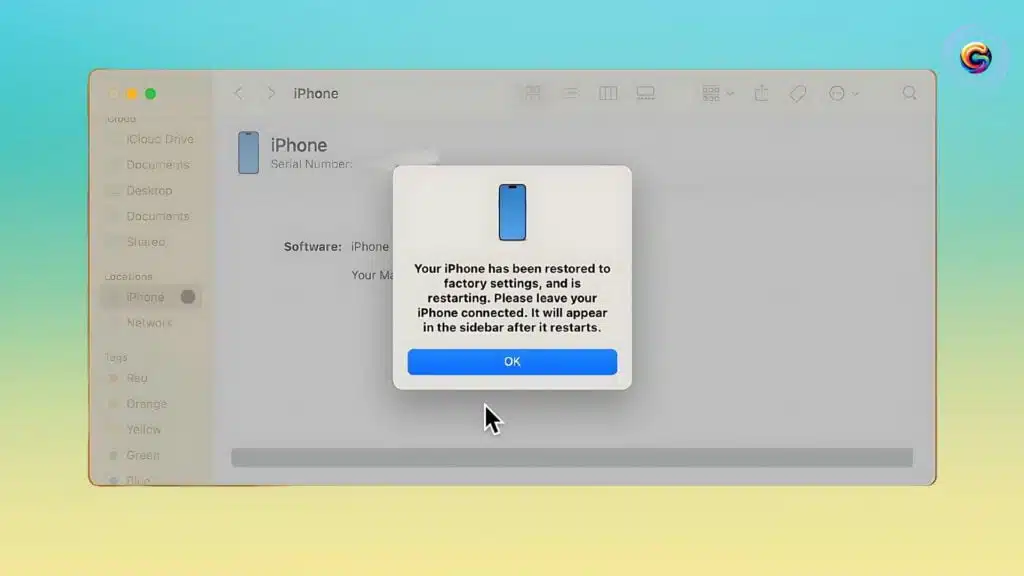
- This process may take some time, so patience is key!
Step 3: Set Up Your iPhone
- Initial Setup:
- Once the iPhone reboots, follow the on-screen instructions to set it up.
- You can sign in using another device for a quicker setup.
- Set up Face ID, transfer data from iCloud or another device.
- Restore from Backup:
- Choose to Restore from iCloud Backup or Restore from Mac/PC.
- Select the backup you made prior to upgrading to iOS 18.
- Depending on your internet speed and data volume, this may take time.
Wrapping Up
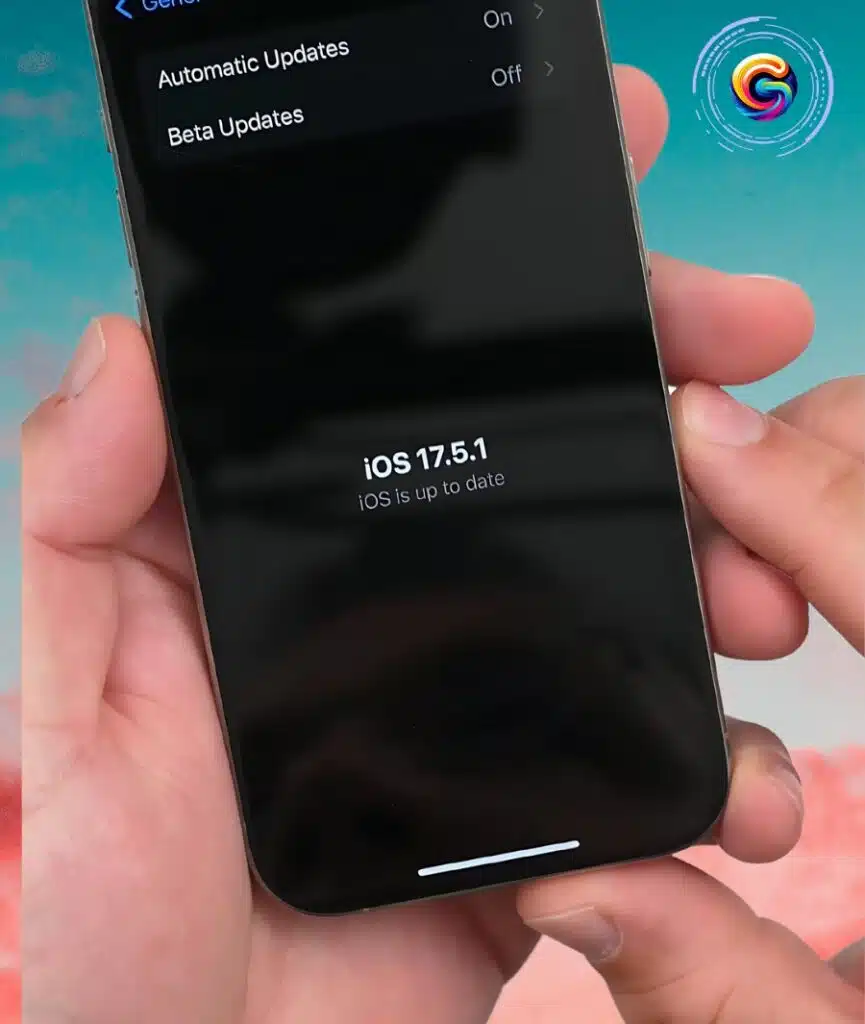
Once your device finishes restoring, it should be running smoothly on iOS 17. All your photos, apps, and essential data will be back, but you might need to sign back into some third-party apps.
Final Tips
- Ensure that all your critical data is backed up.
- Be patient through the download and restore process.
- If you had an iOS 18 backup, it wouldn’t work with iOS 17—use an older iOS 17 backup instead.
By following these steps, you can the comfort and stability of iOS 17. If you found this guide helpful or have tips of your own, feel free to share a blog in the comments!
If you enjoyed this guide, consider subscribing to our blog for more tips and tricks. Don’t forget to share this post with friends who might find it helpful. Thanks for reading!
how to downgrade from ios 18 to 17, how to downgrade from ios 18, how to go back to ios 17 from 18, downgrade from ios 18 to 17, how to downgrade from ios 18 beta to ios 17
